|
Getting your Trinity Audio player ready...
|

GETTING STARTED
Growing thyme indoors can be a rewarding and aromatic experience. Thyme is a versatile herb that can be used in cooking, for medicinal purposes, or simply for its pleasant fragrance. Whether you have limited outdoor space, live in a climate with harsh winters, or just want easy access to fresh herbs year-round, growing thyme indoors is a great option. In this comprehensive guide, we will provide you with 10 detailed steps on how to successfully grow thyme indoors.
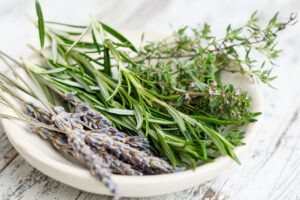
Step 1: Choose the Right Thyme Variety
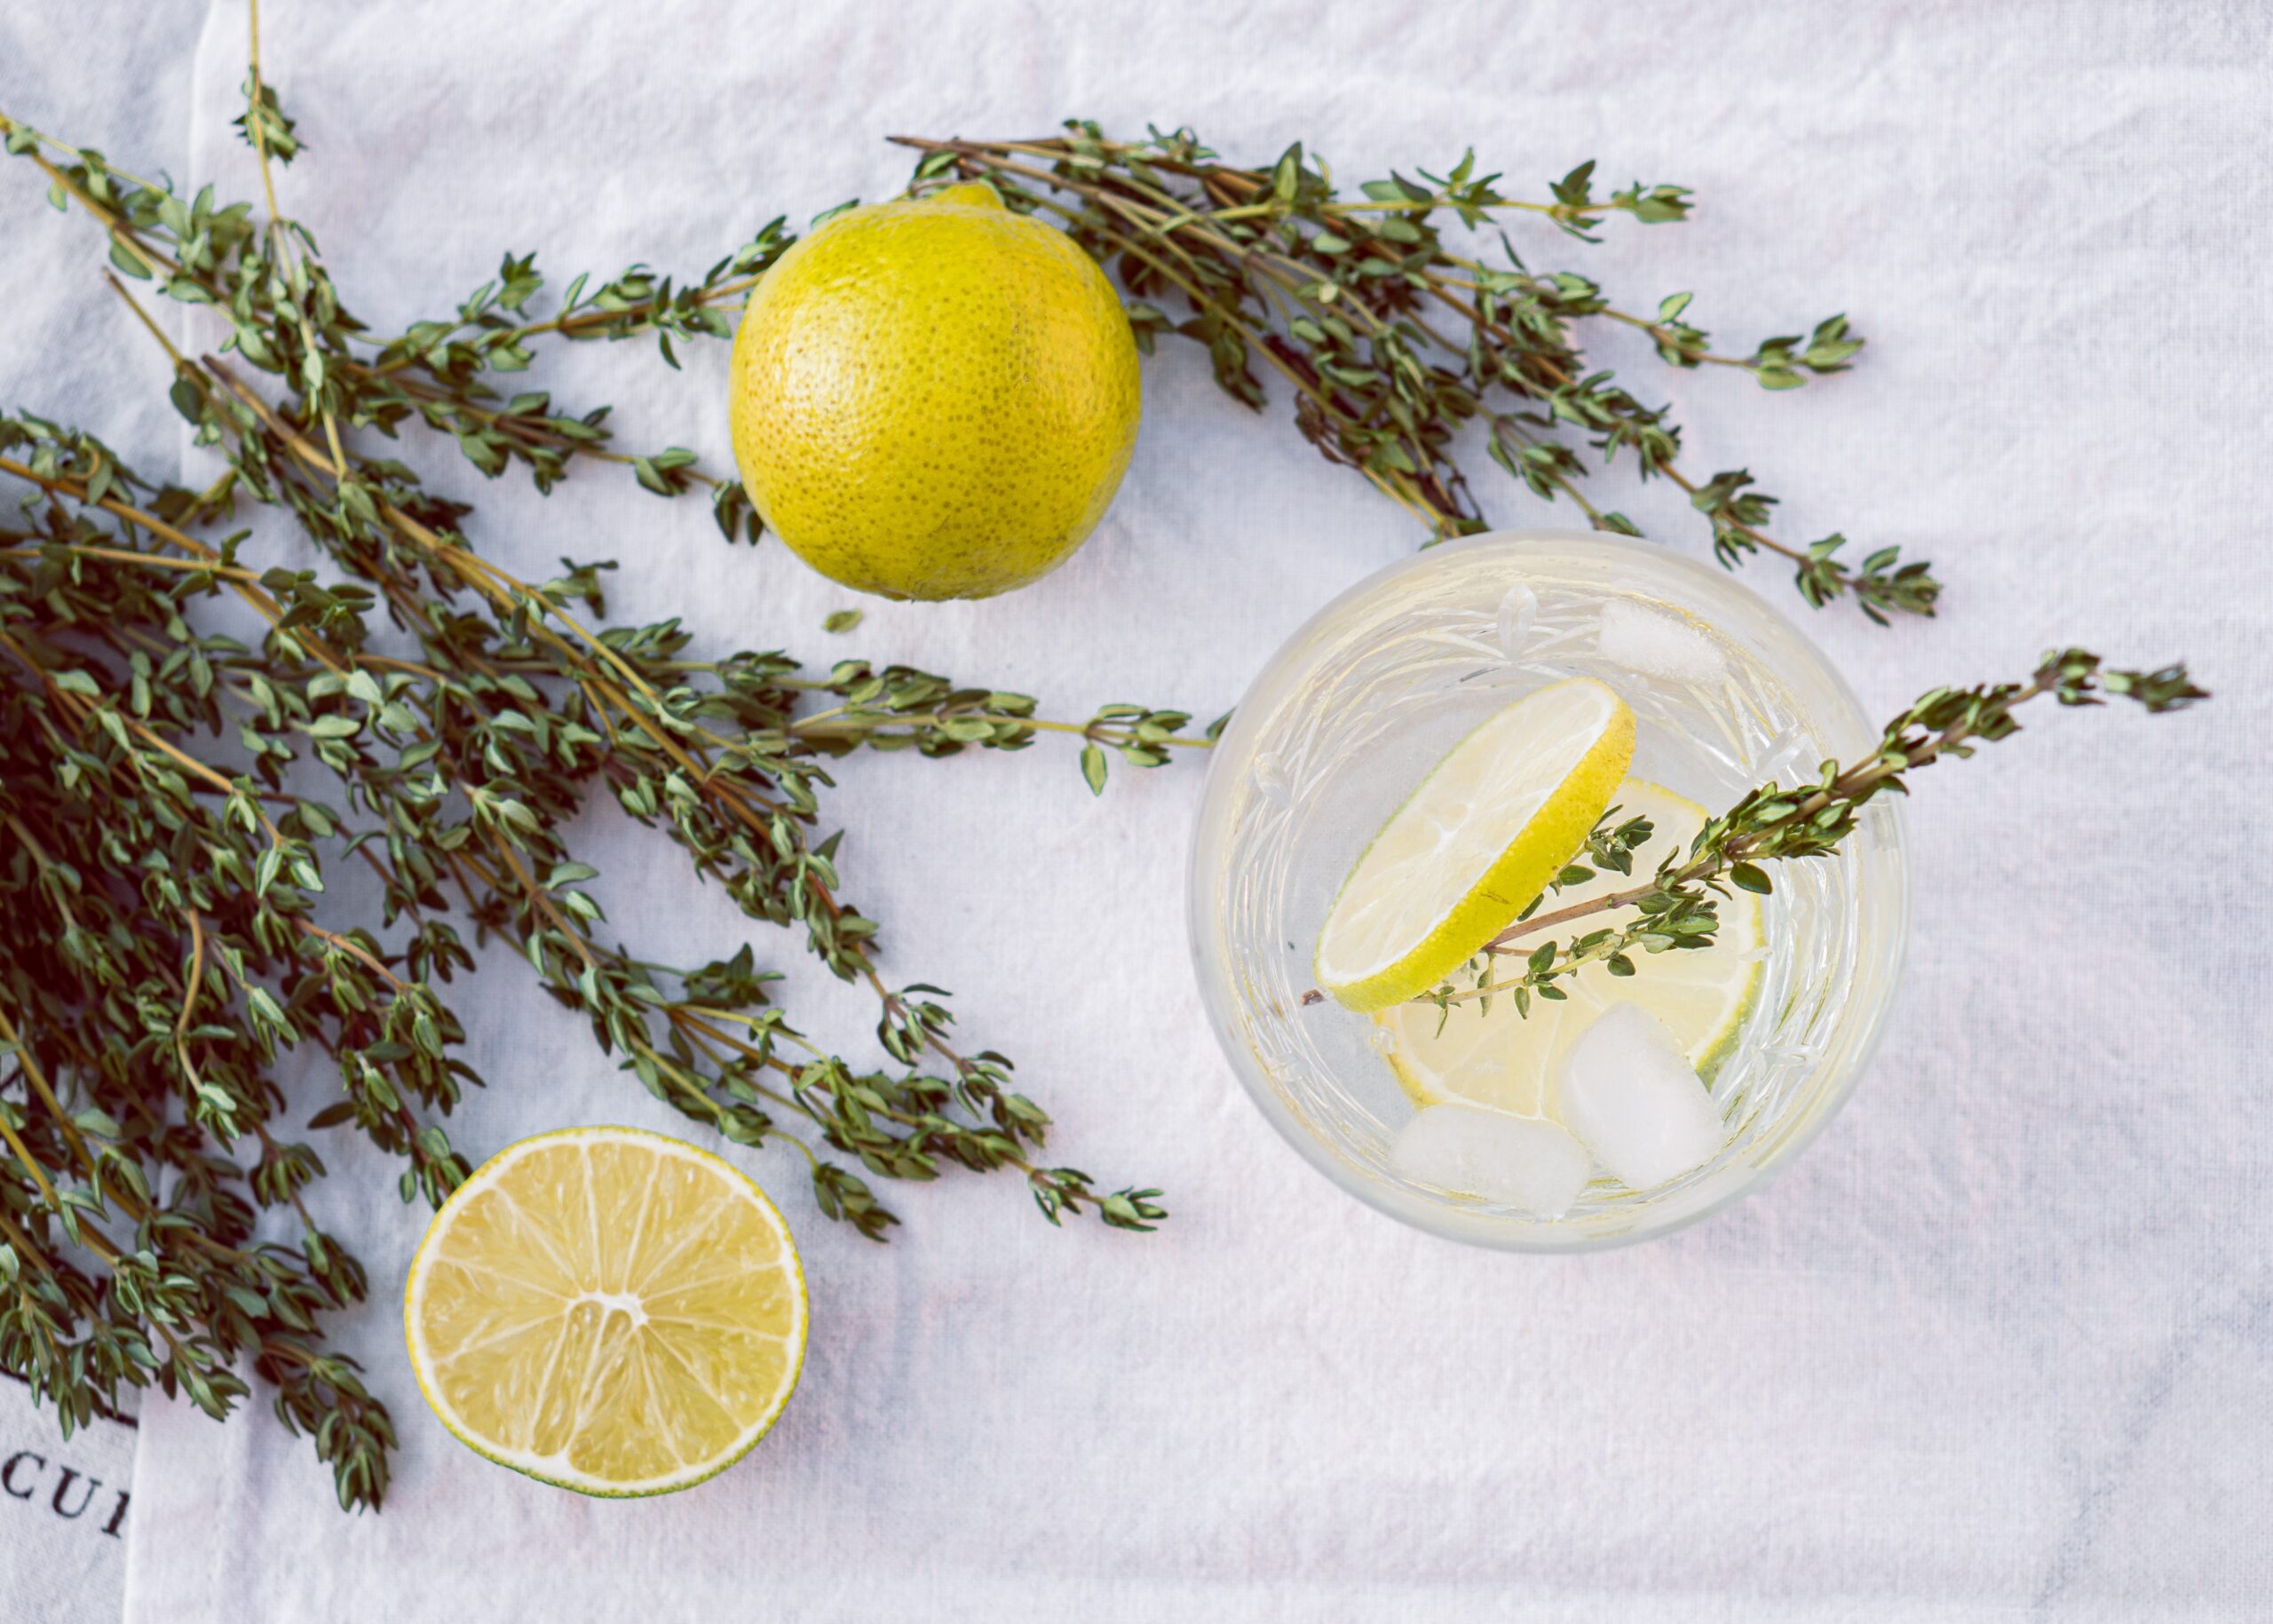
Before you start growing thyme indoors, it’s essential to select the right thyme variety. Common thyme (Thymus vulgaris) and lemon thyme (Thymus citriodorus) are popular choices for indoor cultivation. Common thyme has a classic thyme flavor, while lemon thyme offers a citrusy twist. Choose the one that suits your culinary preferences.
Step 2: Gather Your Materials
To grow thyme indoors, you will need the following materials:
- Thyme seeds or seedlings
- A suitable container or pot with drainage holes
- Quality potting soil or a well-draining mix
- Fertilizer (liquid or slow-release)
- Watering can or spray bottle
- A sunny window or grow lights
- Small stones or gravel for drainage (optional)
Step 3: Choose the Right Container
Select a container that is at least 6-8 inches deep and has drainage holes to prevent waterlogging, which can lead to root rot. You can use clay pots, plastic containers, or decorative planters as long as they have proper drainage.
Step 4: Prepare the Potting Mix
Thyme prefers well-draining soil to prevent waterlogged roots. Create a potting mix by combining potting soil with perlite or coarse sand in a 1:1 ratio. This mix ensures good drainage while retaining some moisture.
Step 5: Plant Thyme Seeds or Seedlings
If you’re starting from seeds, sow them directly in the container about ¼ inch deep. Gently press the soil over the seeds to ensure good contact. If using seedlings, plant them at the same depth as they were in their original containers. Space the plants 6-12 inches apart to allow room for growth.
Step 6: Water Thoroughly
Water the thyme gently but thoroughly after planting to settle the soil around the seeds or seedlings. Ensure the soil is evenly moist but not waterlogged. From this point on, maintain consistent moisture to keep the thyme happy.
Step 7: Provide Adequate Light
Thyme requires plenty of sunlight to thrive indoors. Place your container in a sunny window where it will receive at least 6-8 hours of direct sunlight daily. If natural light is insufficient, consider using grow lights to supplement it. Position the lights about 6-12 inches above the plants and adjust the duration to mimic natural daylight hours.
Step 8: Maintain the Right Temperature
Thyme grows best in temperatures between 60°F and 70°F (15-24°C). Keep your indoor environment within this range for optimal growth. Avoid exposing your thyme plants to sudden temperature fluctuations or drafts.
Step 9: Fertilize Sparingly
Thyme doesn’t require excessive fertilization. Use a balanced liquid fertilizer diluted to half-strength or a slow-release granular fertilizer in the spring when new growth begins. Apply fertilizer sparingly, as over-fertilization can lead to poor flavor and leggy growth.
Step 10: Prune and Harvest
Pruning is essential for maintaining thyme’s shape and flavor. As your thyme plants grow, trim the tips and remove any woody or dead stems. This encourages bushier growth and more leaves for harvest.
To harvest thyme, wait until the plants have reached a height of at least 6 inches. Trim the stems with scissors or pruners, but avoid cutting more than one-third of the plant at a time. You can harvest thyme throughout the growing season, but it’s most flavorful just before it starts to flower.
Additional Tips for Growing Thyme Indoors:
- Watering: Thyme prefers slightly drier conditions, so allow the top inch of the soil to dry out between waterings. Use a saucer under the pot to catch excess water, but don’t let the roots sit in standing water.
- Pest Control: Keep an eye out for common indoor pests like aphids, mealybugs, and spider mites. If you notice any infestations, treat your thyme plants with neem oil or insecticidal soap.
- Repotting: Thyme can become root-bound over time. If you notice your plant’s growth slowing or it becomes too crowded in its container, consider repotting it into a slightly larger pot with fresh potting mix.
- Companion Planting: Thyme is a great companion plant for many vegetables and herbs, as it can deter certain pests. Consider planting it alongside other herbs or vegetables indoors.
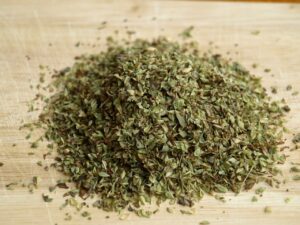
- Drying Thyme: If you have a surplus of thyme, you can dry it for future use. Hang bundles of thyme upside down in a dry, dark, and well-ventilated space until it’s completely dry. Then store the dried leaves in an airtight container.
Growing thyme indoors is a fulfilling and practical endeavor, providing you with fresh herbs for culinary delights year-round. By following these ten steps and additional tips, you can successfully cultivate healthy and flavorful thyme in the comfort of your home. Enjoy adding its delightful aroma and taste to your dishes, teas, and even home remedies.
THANK YOU, I HOPE THIS IS HELPFUL